 A kitchen remodel can be both exhilarating and terrifying at the same time and for this particular project I think both emotions are warranted. The kitchen is the heart of your home and it’s like you’re getting ready for a quadruple bypass! After recently going thru the process at our own home, I thought I’d take a few seconds to jot down some thoughts as we worked thru the process.
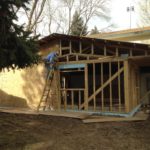
Planning – A kitchen remodel is definitely something you don’t try to tackle in a weekend or two, it’s a BIG undertaking. And really “kitchen remodel “ can run the gamut of replacing cabinets or counters and floors, to a full-blown remodel where you’re moving walls and updating existing plumbing and electrical systems. The latter is definitely a BIG job.
I’ve been told that the best time to remodel your kitchen is in the summer so you can take advantage of outdoor grilling but what I found is that our kitchen sink was more important than the grill and was the appliance I missed most during our remodel. Doing dishes in the bathroom gets old quick! The other note here is our biggest unplanned expense was our eating out bill. Maybe we were just lazy but it’s easy to sellout and order pizza when you’re exhausted from your world being turned inside out.
Logistics – With your kitchen being the heart of home you need to give some serious consideration to how the household is going to function with your kitchen being offline. We tried to keep various cabinets somewhat intact as long as possible but ultimately you’ll be offline for a certain amount of time so plan for this ahead of time.
Dust, dust, everywhere – Make sure you have solid dust mitigation plan in place before you start swinging that hammer. We all know that construction and dust are somewhat synonymous but there are definitely steps you can take to help mitigate the mess. Dust or Zip walls should be in place around the work zone to help confine the dust to the project area. Cutting should be done outside and point-of-use dust collection should be utilized whenever possible. Recirculating type HEPA filters can then be operated within the space to help capture air bone dust. Realize that people with allergies or a heightened sensitivity to dust may have an adverse reaction to the poor IAQ (indoor air quality) regardless of precautions. Sticky mats outside the dust wall area also help keep dust confined. Talk with your contractor beforehand to understand what steps will be taken to help with dust control. Professional dust collection systems cost thousands of dollars and your contractor may or may not be utilizing them.
IKEA Cabinets – It feels weird giving this its own section but at the same time important. IKEA Cabinets are very popular and for a good reason, the price point is about half to one-third of what you would expect to pay to a custom cabinet shop. I LOVE their functionality, high-end hardware and that their product comes with a 25 year warranty but it’s not all so rosy. As we were meeting with their kitchen folks, I asked the question, can I haul all this stuff home in my ¾ -ton pickup truck and was told probably not… I do think that was the correct answer considering when my 177 boxes arrived they filled a large portion of my garage. I’ve assembled IKEA stuff previously and while it’s not difficult it’s also not super easy. We’re all use to following directions for assemble your own furniture but when the little guy pulls out his circular saw in the middle of step 3, you know you’re into a bit different type of project. Also, staring at those 177 boxes can be a bit intimidating even to a seasoned pro.
The other consideration with the IKEA stuff is working within their base dimensions, meaning you’ll need to cut filler pieces to make up the differences, this is fairly common in the cabinet world but still something to be aware of.
When we were finishing up our order the sales associate asked if we were IEKA members. We were not and typically I hate signing up for stuff but she said we’d definitely want to be because our cabinets would go on sale and we would receive a rebate if we came back with our receipt. Anyway we signed up and sure enough about a month later the sale came up and we ended up with about a $1,600 rebate, about the coolest thing I’ve experienced in a long time!
Finishes – It sounds simple, pick a few paint colors and a countertop and presto, new kitchen. Well I can definitely say a new kitchen means a TON of decisions.
- Cabinets – styles, colors, finishes, functionality.
- Flooring- types (laminate, solid wood, engineered wood, vinyl, tile), colors, widths, grout thickness and color, etc.
- Counter-tops – types (solid surface, Formica, granite, butcher-block, quartz, concrete) and all the colors and edge treatment.
- Fixtures – Sink, drop-in or under mount.
- Lighting – Recessed, track, pendant.
My biggest challenge with selecting finishes (and I consider myself a decisive guy) is that each change has a domino effect. You decide to change the flooring to match the new cabinet color, but you forgot that will impact the countertops, etc., etc.
Understand going into the project that there are a lot of decisions to be made and it’s best to make them upfront on paper, not as the cabinet guys are rolling cabinets into place.
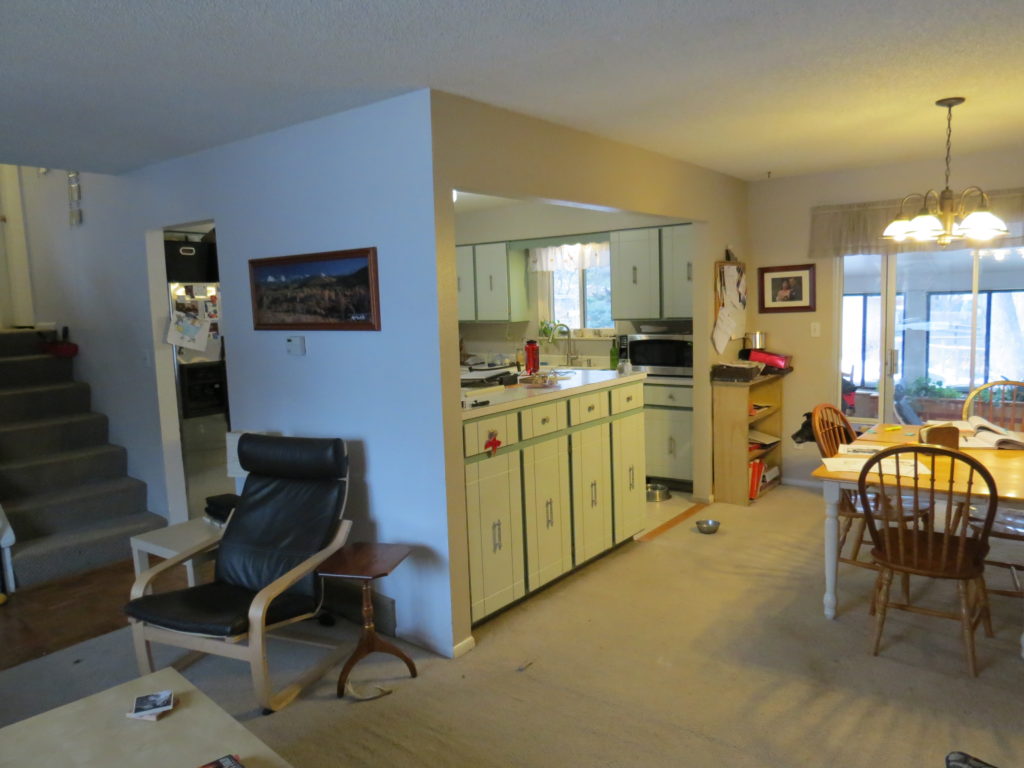
Highlights from our project:
- Remove existing popcorn ceiling
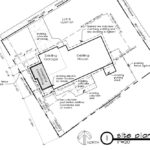
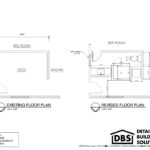
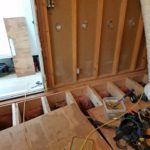
- Remove existing walls and bulkheads
- Remove existing soffits above cabinets
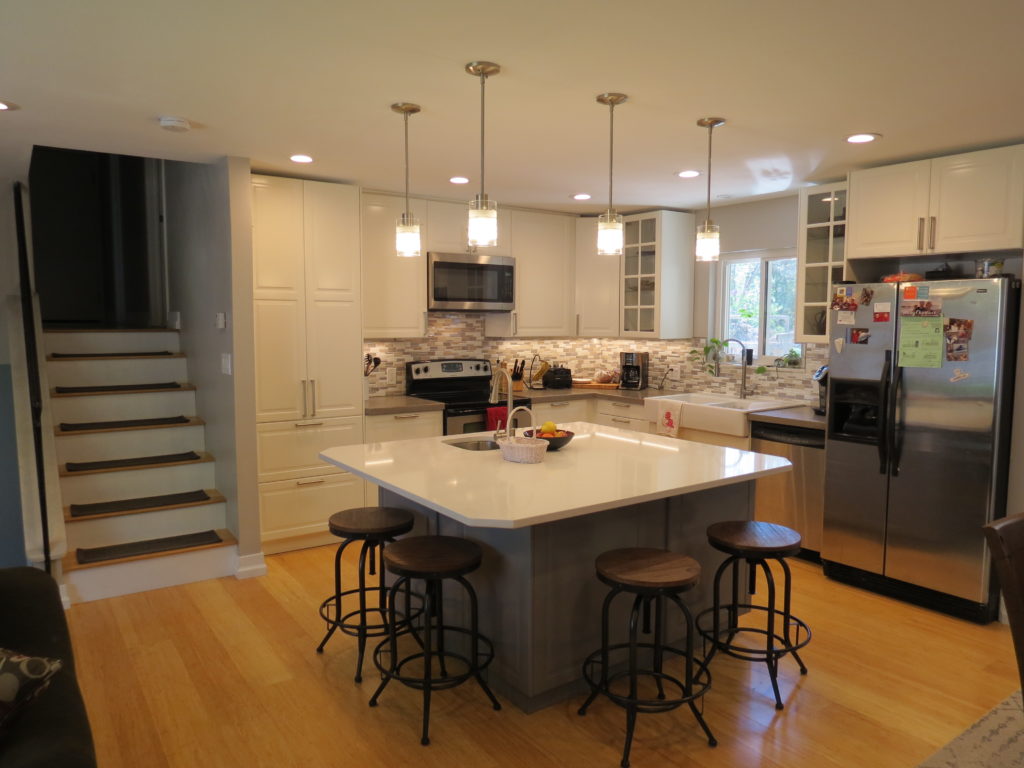
- New IKEA cabinets
- New island with sink
- Custom homemade concrete countertops (islandtop is Quartz)
- Upgraded from two lighting fixtures to 21 lights! Both recessed cans and mini-pendants on 4 new dimmable switches.
- 7 new hardwired smoke/carbon monoxide detectors all interconnected throughout the house.
- 3 new dedicated 20 amp circuits
- Upgrade 4 existing circuits to arc fault/GCFI circuits
- Engineered bamboo floors